Table of Contents
This page show how to start android with ODROID-C2.
- Or, you can use smart power2.
- Media reader for burn the OS.
- Monitor or TV that has a HDMI port.
Getting start without burning Android!
If you buy the ODROID-C2 and media pre-installed Android, you can start Android more easily!
Getting start with burning Android
Prepare
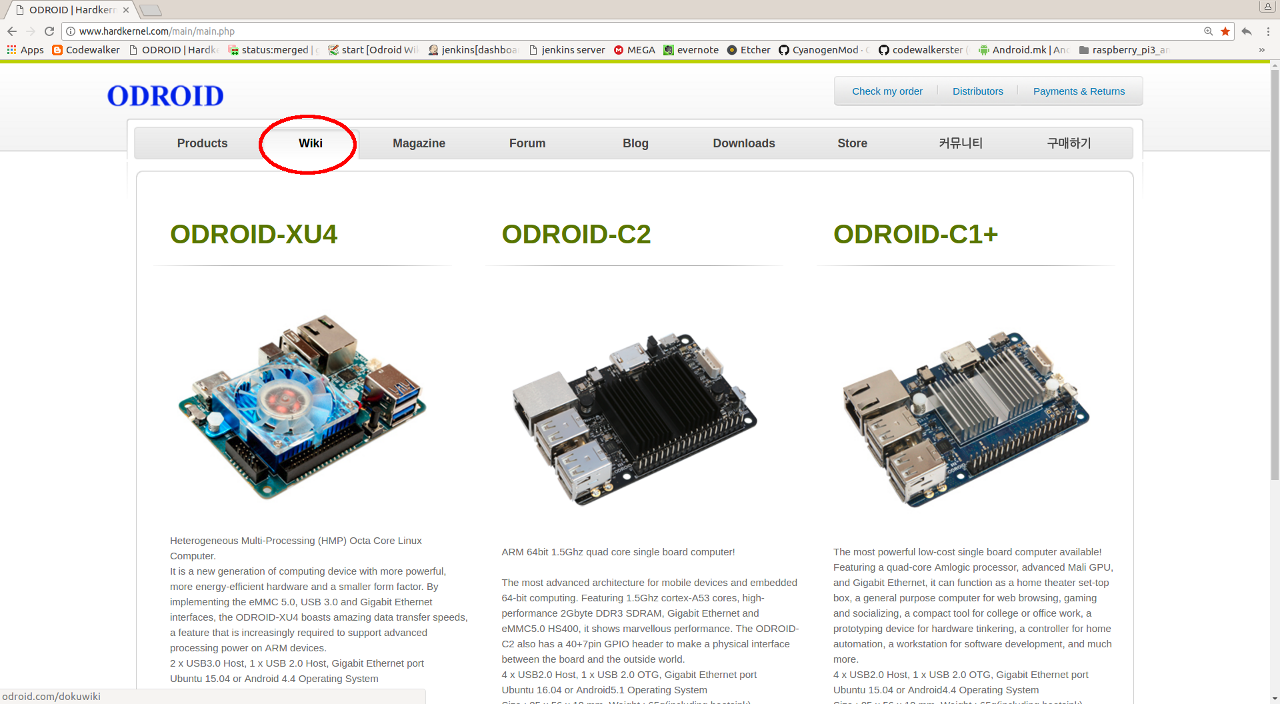
First, You have to have ODROID-C2 and media. the media can be eMMC, micro SD card or both of them. you will install android OS to the media.
And you should have monitor to display and HDMI cable. we recommend HDMI v2.0 to display higher resolution.
The power adapter also be needed. ODROID-C2 doesn't support to power supply by usb cable officially.
Getting the Android
This is done on the PC.
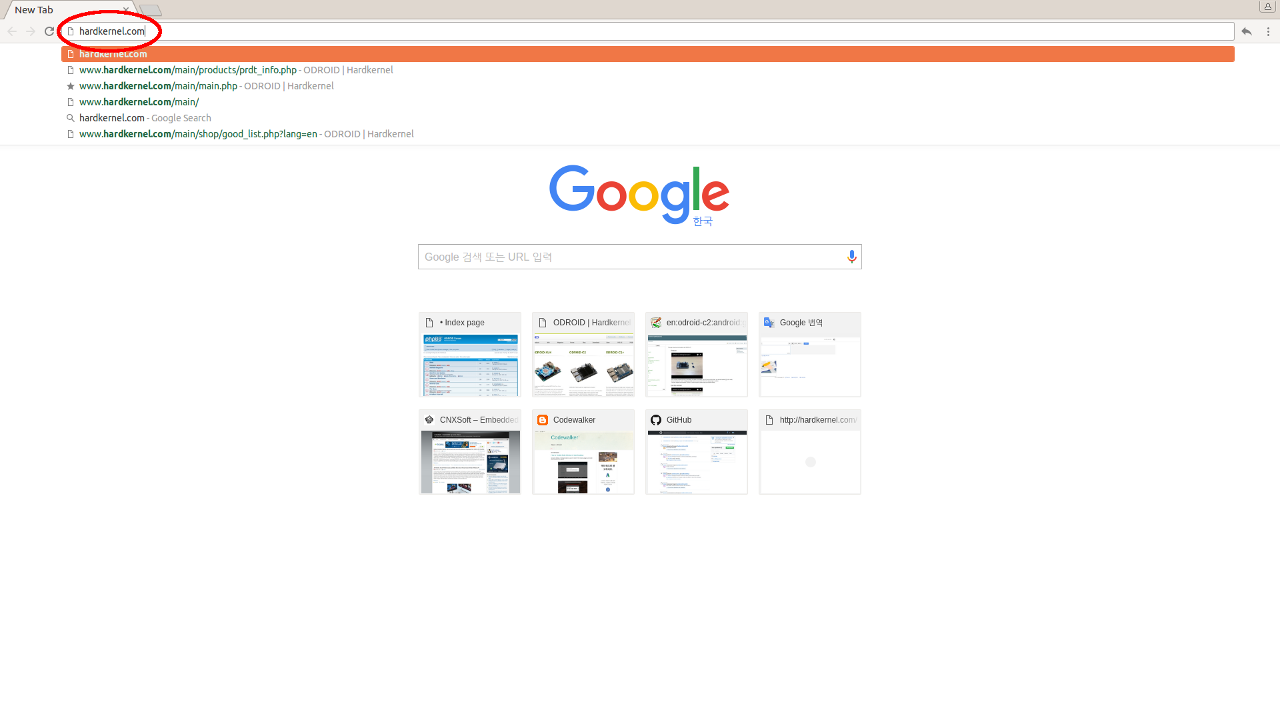
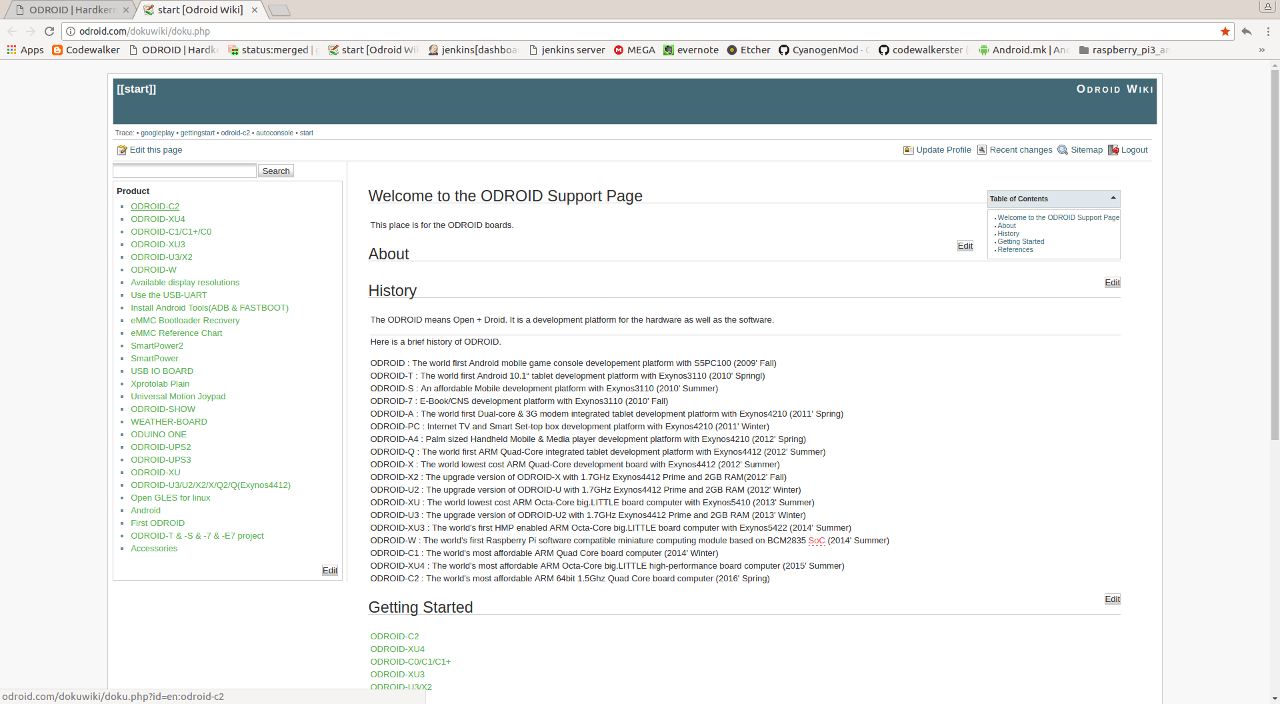
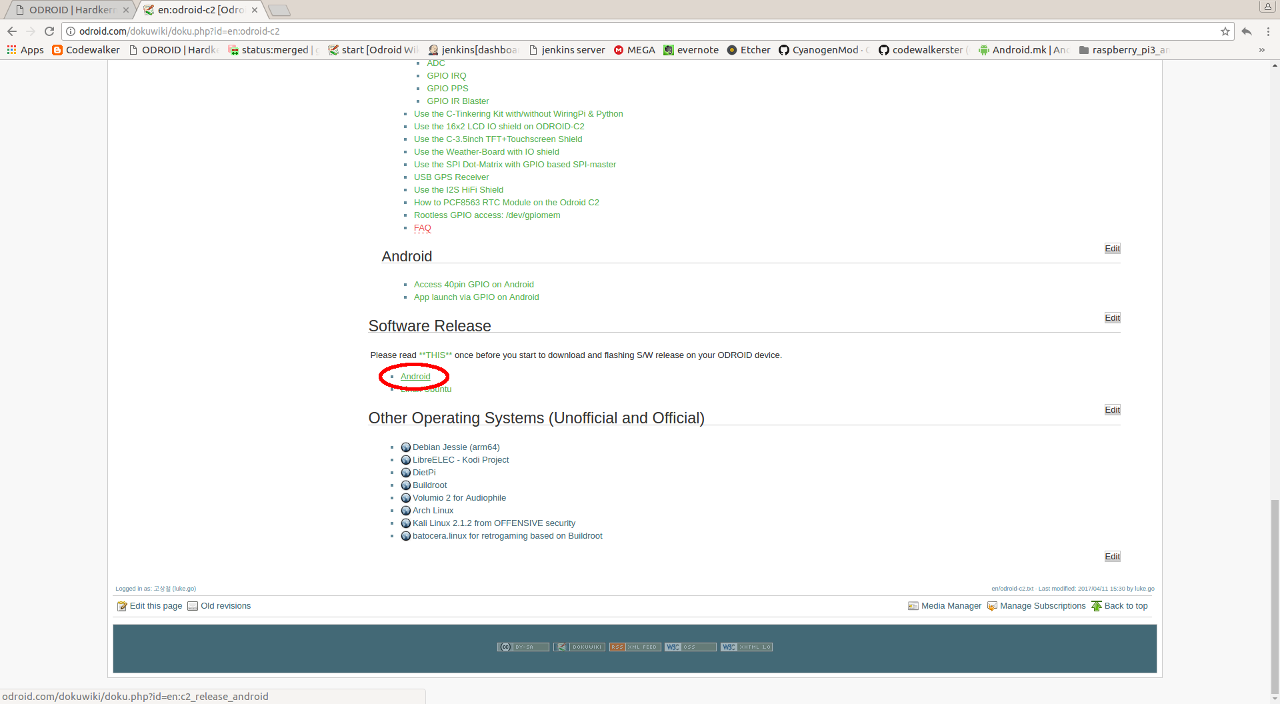
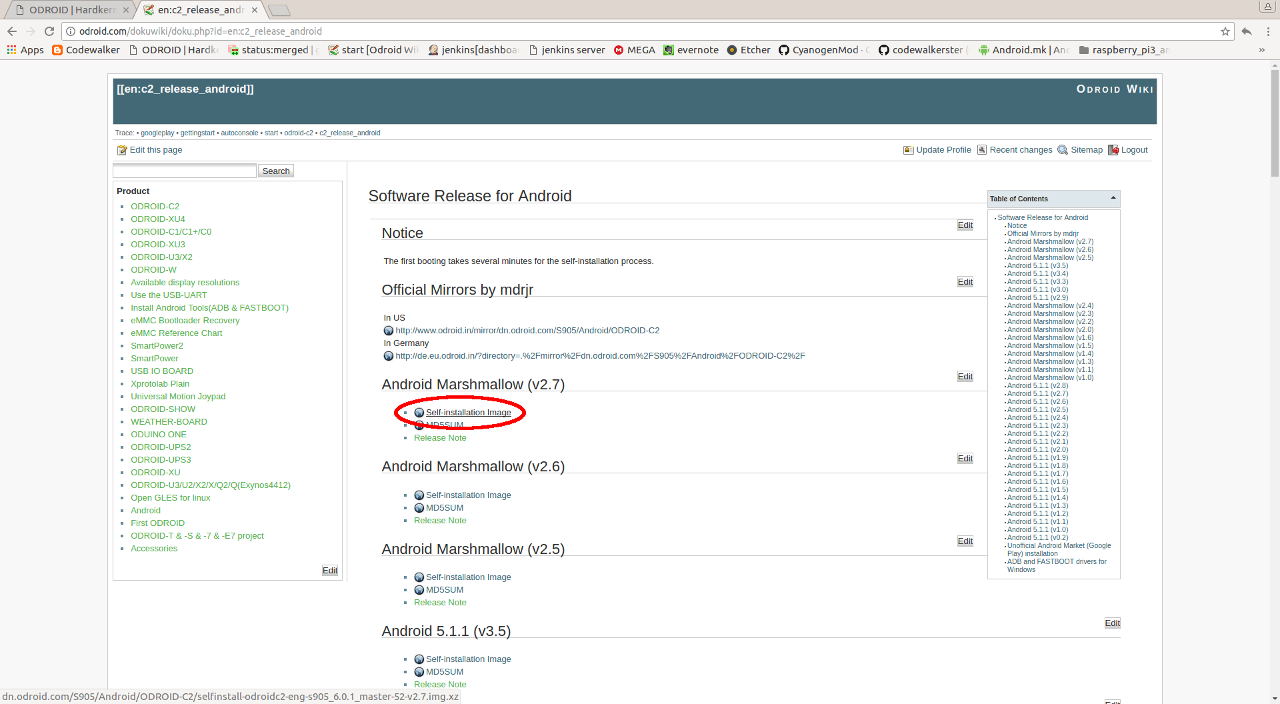
Second, Android Image can be downloaded from hardkernel.com, in more detail, http://odroid.com/dokuwiki/doku.php?id=en:c2_release_android.
Please download self install image, recently be released.
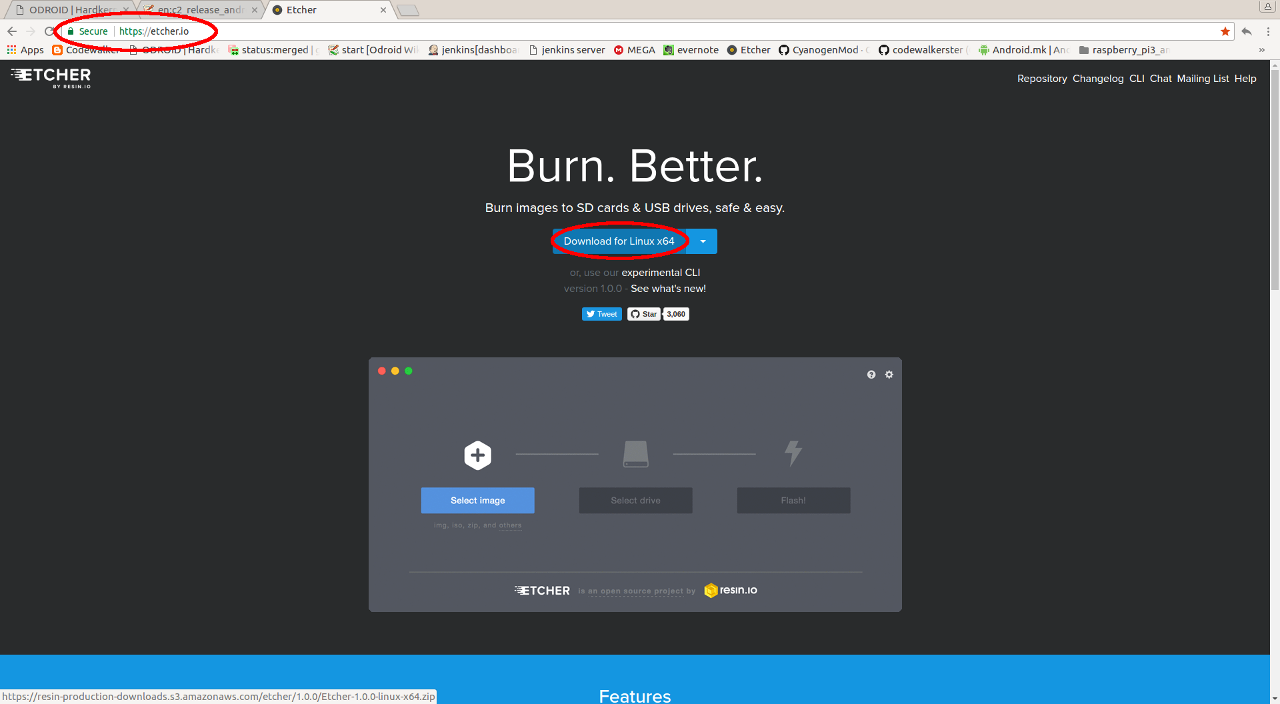
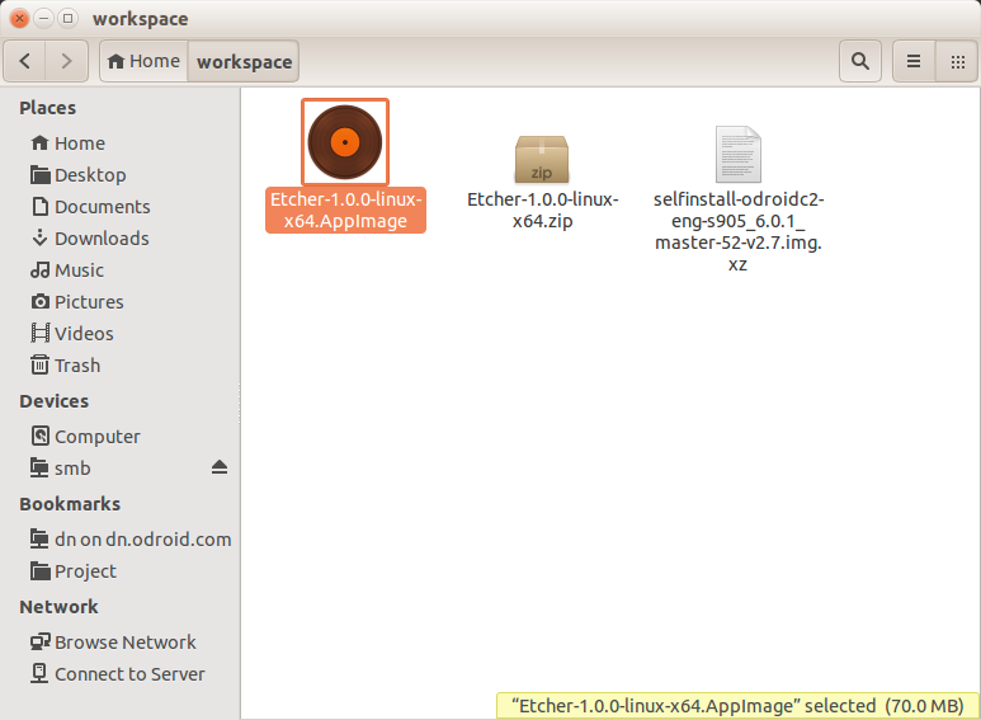
To burn the android image to media(eMMC or micro SD card), we recommend burning media by using etcher.
you can download etcher from https://etcher.io/
Burning the Android
EMMC
micro SD Card


By using etcher, you can burn android to media easily. To burn the eMMC, please use eMMC Module Reader when 'burning Android Image' don't use Reader when connect to ODROID-C2 board.
After finish, please insert media to correct slot. each media have their matching slot.
Then, connecting HDMI cable to ODROID-C2 before connecting power supply to see progress of install. after connecting HDMI, finally connecting power adapter to ODROID-C2 board. In this case, we used Smart Power 2.
After a minutes, you can see the home screen of Android.
