Table of Contents
Use to 3.2inch TFT+Touchscreen Shield
Fast 30Mhz SPI is used for the faster frame rate. You will need an official Ubuntu image to configure it.
Specifications
| LCD Type | TFT |
| LCD Interface | SPI |
| Touch Screen Type | Resistive |
| Touch Screen Controller | XPT2046 |
| Colors | 65536 |
| Backlight | LED |
| Resolution | 320*240(Pixel) |
| Aspect Ratio | 4:3 |
| Weight | 44gram |
Pin Map
| Pin Num | Symbol | Description |
|---|---|---|
| 1, 17 | 3.3V | Power positive (3.3V power input) |
| 2, 4 | 5V | Power positive (5V power input) |
| 3, 5, 7, 8, 10, 22 | NC | No connection |
| 6, 9, 14, 20, 25 | GND | Ground |
| 11 | TP_IRQ | Touch screen interrupt, low level while the touch screen detects touching |
| 12 | KEY1 | Export GPIO#173, Wiring Pi GPIO#1 |
| 13 | RST | Reset, Export GPIO#21 |
| 15 | LCD_RS | LCD instruction control, Instruction/Data Register selection, Export GPIO#22 |
| 16 | KEY2 | Export GPIO#19, Wiring Pi GPIO#4 |
| 18 | KEY3 | Export GPIO#23, Wiring Pi GPIO#5 |
| 19 | LCD_SI/TP_SI | SPI data input of LCD/touch screen |
| 21 | LCD_SO/TP_SO | SPI data output of LCD/touch screen |
| 23 | LCD_SCK/TP_SCK | SPI clock of LCD/touch screen |
| 24 | LCD_CS | LCD chip selection, low active |
| 26 | TP_CS | Touch screen chip selection, low active |
How to activate the 3.2inch LCD shield with your ODROID-XU4
You need a HDMI connection or a Serial console connection to follow below instruction.
To use the SPI, you first need to update the kernel version to “3.10.83” or higher.
sudo apt-get update && sudo apt-get dist-upgrade
“ads7846” module driver must be in the output of “lsmod” command.
How to enable driver (Only Ubuntu 16.04 or higher is required)
Edit /etc/modprobe.d/blacklist-odroid.conf to comment out following three ines.
blacklist spidev
blacklist spi_s3c64xx
blacklist ads7846
Reboot.
reboot
Check your SPI node.
ls /dev/spidev*
Configuring framebuffer
0. Update your Kernel
sudo apt-get update && sudo apt-get dist-upgrade
1. Insert modules
sudo modprobe fbtft_device name=odroid32 rotate=90 busnum=1 gpios=reset:21,dc:22 speed=32000000 cs=0
You will have a new frame buffer /dev/fbX.
Find a ili9340 framebuffer node
ls /dev/fb*
/dev/fb0
cat /sys/class/graphics/fb0/name
fb_ili9340
Run Xwindow
0. Insert modules
sudo modprobe fbtft_device name=odroid32 rotate=90 busnum=1 gpios=reset:21,dc:22 speed=32000000 cs=0
1. Create a new config file
sudo mv /etc/X11/xorg.conf /etc/X11/xorg.conf.old
Add following lines in “/etc/X11/xorg.conf” file.
Section "Device"
    Identifier    "XU4 fbdev"
    Driver        "fbdev"
    Option        "fbdev" "/dev/fb0"
EndSection
2. Run
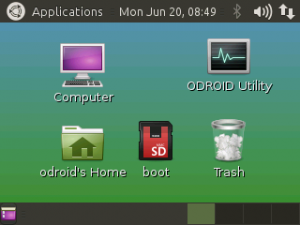
/etc/init.d/lightdm start
Run Console
0. Insert modules
sudo modprobe fbtft_device name=odroid32 rotate=90 busnum=1 gpios=reset:21,dc:22 speed=32000000 cs=0
1. Run con2fbmap
con2fbmap <console> <framebuffer>
sudo apt-get install fbset
sudo con2fbmap 2 0
Press Keyboard Ctrl + Alt + F2 to change the console screen of FB1
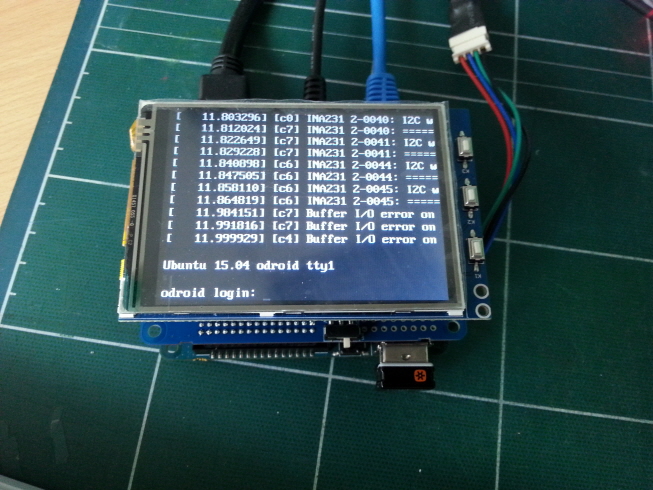
There will be a login screen on the LCD screen.
Touch Calibration
To use the Touch Calibration, you first need to update the kernel version to “3.10.96-86” or higher.
sudo apt-get update && sudo apt-get dist-upgrade
0. The xinput-calibrator pakage download
sudo apt-get install xinput-calibrator
1. Remove old calibration data.
sudo rm /etc/X11/xorg.conf.d/99-calibration.conf
2. Login
You need a login to get DISPLAY.
If you want auto login.
Edit /etc/lightdm/lightdm.conf file to enable auto-login: (password: odroid)
odroid@odroid:~$ sudo vi /etc/lightdm/lightdm.conf
[sudo] password for odroid:
odroid@odroid:~$ cat /etc/lightdm/lightdm.conf
[SeatDefaults]
autologin-user=odroid
autologin-user-timeout=0
odroid@odroid:~$
3. Check your DISPLAY
odroid@odroid:~$ w
09:13:31 up 35 min,  2 users,  load average: 0.09, 0.08, 0.12
USER     TTY      FROM             LOGIN@   IDLE   JCPU   PCPU WHAT
odroid   ttySAC2                   08:42    2.00s  0.75s  0.02s w
odroid   :0       :0               05:39   ?xdm?   1:15   0.63s mate-session
odroid@odroid:~$
4. Run calibrator
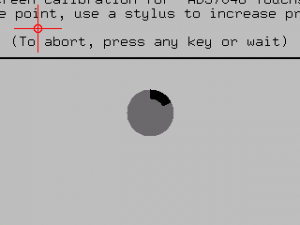
sudo DISPLAY=:0 xinput_calibrator
Follow the directions on your screen.
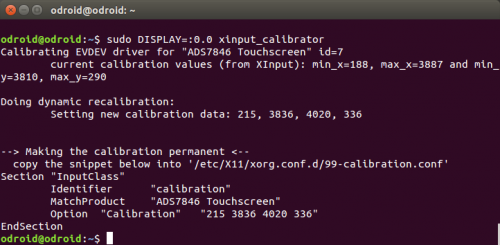
then, you will get something like
Copy to “/etc/X11/xorg.conf.d/99-calibration.conf”
sudo mkdir /etc/X11/xorg.conf.d/
sudo vi /etc/X11/xorg.conf.d/99-calibration.conf
5. Reboot
sudo reboot


